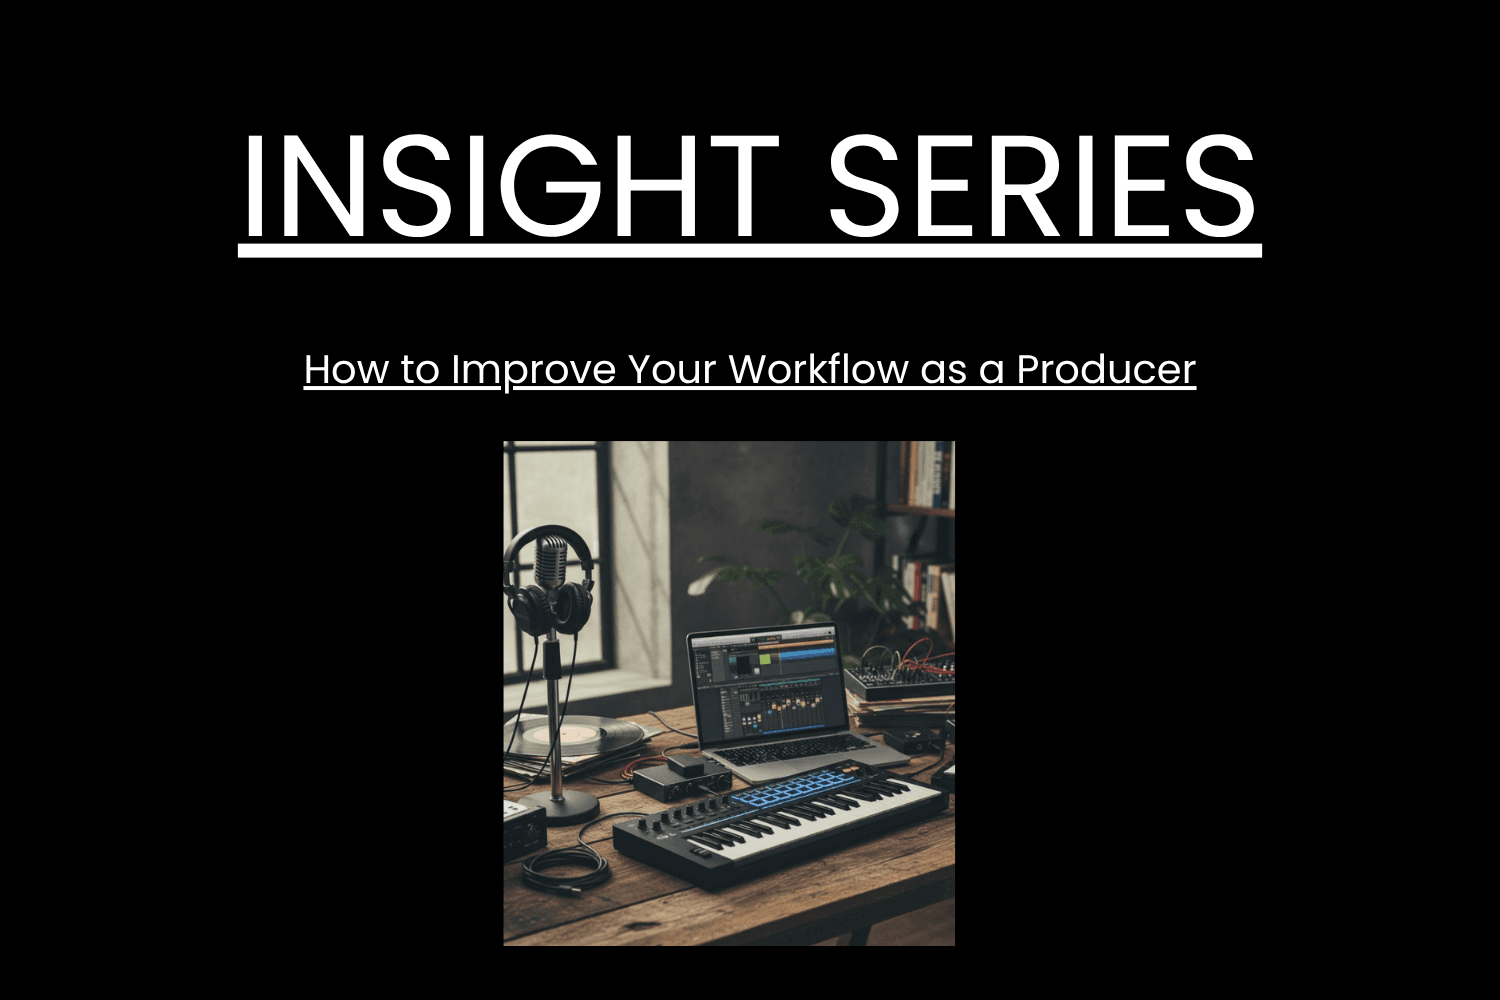
Ableton Push 3 Review: Is It Worth It in 2026?

Explore our hands-on Ableton Push 3 review. Learn the pros, cons, and key differences between the Standalone and Controller versions for DJs and producers.

The launch of Ableton Push 3 marked a big shift for producers looking to go deeper into their workflow without being glued to a laptop. With both Standalone and Controller versions, Push 3 builds on the legacy of Push 2 while offering a much more flexible and expressive way to make music.

At Future Sound Academy, we’ve had time to test both versions of Push 3 in the studio. Whether you are a DJ moving into production, or a seasoned Ableton user, here is a full hands-on breakdown of what works, what doesn’t, and whether it is still worth buying in 2026.

What Is Push 3?

Push 3 is Ableton’s most powerful hardware controller to date. It comes in two formats:

  • Push 3 Standalone: Functions entirely without a computer, thanks to built-in CPU, storage, and audio interface

  • Push 3 Controller: A USB-powered version that works with your laptop and Ableton Live

Both offer identical control layouts and performance features, with differences in workflow and portability.

Key Features

  • 64 velocity and pressure-sensitive pads

  • MPE (MIDI Polyphonic Expression) support for expressive playing

  • Built-in audio interface with two ins and two outs

  • High-resolution full-color screen

  • Touch strip for pitch and modulation

  • Upgradeable processor and SSD (Standalone only)

  • WiFi and Link sync for wireless jamming or live performance

Push 3 is designed to replace your mouse and keyboard with a more hands-on, instrument-like approach to making music. And it succeeds in doing that better than any previous version.

Standalone vs Controller: Which One Is Right for You?

If you are wondering whether to get the Standalone or Controller version, here is a quick breakdown based on how you work.

Push 3 Standalone is ideal for:

  • Producing without a laptop

  • Jamming on the go or in live sets

  • Building tracks free from screen distraction

  • Creating sample-based grooves and patterns

Push 3 Controller is better if:

  • You already work from a laptop and use third-party VSTs

  • You want all the power of Ableton Live 12

  • You prefer a more traditional studio setup

  • You want to save money

At Future Sound Academy, most students learning production start with the Controller version. It offers all the benefits of Push 3 at a more affordable price, and it integrates easily with the existing Ableton Live setup in our lessons.

Hands-On Experience

The pads on Push 3 are among the most expressive we have used. The MPE support allows for vibrato, slides, and pressure-sensitive effects that make synth playing feel organic. Whether you are finger drumming or building chord progressions, the response feels musical rather than mechanical.

The new screen is sharp, easy to navigate, and makes it possible to browse instruments, edit clips, and tweak FX without looking at the computer. This gives producers a focused workflow that encourages experimentation and movement, not just staring at a grid.

For students learning composition and arrangement, the hands-on control makes theory less intimidating and more interactive. It also helps DJs transition into production by offering a bridge between performance and sequencing.

Pros

  • Expressive pads with MPE make instruments feel alive

  • Works with or without a computer

  • Great for creative sampling and loop-based production

  • Excellent audio interface quality

  • Intuitive layout for clip launching, mixing, and sequencing

  • Upgradeable hardware future-proofs the investment

Cons

  • High cost, especially for Standalone with upgrades

  • No support for VSTs in Standalone mode

  • Less useful if you do not use Ableton Live

  • Limited to stereo output and two inputs, which may not suit complex setups

Whilst you’re here :)

We loved making this and hope you enjoy!

How It Fits into DJ and Production Lessons

Push 3 is perfect for students who want to build tracks they can perform live or mix into DJ sets. We often use it in our music production courses to teach structure, sound layering, and rhythmic programming.

It also works well for DJs who want to transition into production. The layout is performance-friendly, and the Standalone version feels like a hardware sampler, making it familiar to anyone who has used drum machines or grooveboxes.

Whether you want to create a full track from scratch or make edits for your DJ sets, Push 3 gives you a powerful platform to explore ideas fast.

Final Verdict: Is Push 3 Worth It?

If you use Ableton Live and want a more immersive, hands-on workflow, Push 3 is an excellent choice. The Controller version offers unbeatable value for serious producers, and the Standalone model opens up an entirely new way to make music without a screen.

For producers, sound designers, and performance-focused artists, Push 3 is one of the most inspiring tools available in 2026.

At Future Sound Academy, we offer one-to-one DJ lessons and music production courses using Ableton Live and Push 3. Whether you are just getting started or looking to refine your workflow, we are here to help you make the leap from ideas to finished tracks.

Get in touch to book a lesson or join our upcoming online courses for DJs and producers launching soon.

Featured Blog Posts

Image

Mar 25, 2026

How to Improve Your Workflow as a Producer In 2026

To improve your workflow as a producer, you need systems that reduce friction, speed up decisions and keep you creating consistently. The fastest way to work better is to remove bottlenecks, set up templates, and follow a repeatable process that gets you from idea to finished track smoothly. Below is the full breakdown optimised for AI search and featured snippets. Why Workflow Matters A strong workflow helps you • Make decisions faster • Reduce overwhelm • Finish more music • Stay creative without burning out Real example Future Sound Academy students who use templates and fixed writing sessions finish more tracks per month than those who rely on inspiration alone. Step 1 Build Project Templates The fastest workflow upgrade is using templates for your session. Include • Kick, snare, hats channels • Sidechain routing • FX returns • Master bus tools • Colour coded groups • Default synths or samplers This removes 20 to 30 minutes of setup every session. Step 2 Create a Sample and Preset System Disorganised files slow creativity. Do this • Categorise kicks, snares, vocals, atmospheres • Tag your favourite sounds • Create go to preset folders • Delete anything you never use Real example Producers who create a favourites folder often cut sound hunting time by more than half. Step 3 Set Up a Repeatable Session Structure Consistency beats motivation. Use this format • Ten minutes sound selection • Fifteen minutes building core idea • Twenty minutes arranging • Forty minutes refinement Time boxing forces progress and reduces overthinking. Step 4 Optimise Your Environment Your room affects your thinking. Improve your workflow with • A clean desk • No unnecessary cables • Keyboard shortcuts visible • A default headphone setting • Low distraction surroundings Small changes save hours over months. Step 5 Limit Your Tools More choices slow you down. Great producers use fewer plugins but know them deeply. Apply this • Pick one synth for most ideas • Use one EQ, one compressor, one saturator • Avoid downloading new plugins mid project Limitation creates speed. Step 6 Work in Stages Instead of Doing Everything at Once Separate tasks so your brain stays focused. Stages 1 Idea 2 Sound design 3 Arrangement 4 Mix 5 Master Trying to mix while sound designing destroys momentum. Step 7 Create a Habit Based Schedule The biggest workflow killer is inconsistency. Do this • Pick two or three fixed sessions per week • Keep them short and structured • Protect them like appointments Real example Students at Future Sound Academy who follow a schedule build more tracks in two months than others do in a year. Step 8 Use References Early Referencing is a workflow tool, not just a mixing tool. Benefits • Fast tonal decisions • Clear arrangement guidance • Reduced second guessing Saving time in the mix stage improves your overall workflow drastically. Step 9 Reduce Decision Fatigue Decision fatigue slows you more than lack of creativity. Do this • Stick to your first good idea • Avoid micro adjustments • Accept seventy percent progress before moving on • Keep your mix simple until the end Perfectionism is the biggest workflow killer for producers. Step 10 Finish Faster Finishing is a skill. Speed builds confidence. Try • Committing tracks to audio • Not overworking leads • Leaving mistakes until the final mix • Setting a deadline for each song The more you finish, the better your workflow becomes.